Happy Thanksgiving! I had a very nice Thanksgiving with my family. My husband and I travelled an hour north to have dinner with my parents. My sister and brother-in-law were there, along with my sister's children. My niece and nephew are in their early 20's, so it was all grown-ups.
For years I cooked Thanksgiving dinner at my house, which I really enjoyed. When my grandfather (who lives 3 hours south of us) decided he couldn't travel anymore, we started going down there for the day. My grandfather is 94 now. He has lost his hearing and eyesight so it's become difficult to communicate with him. Because he's lost two very important senses, I think it really makes him uncomfortable when alot of people are in the house. He knows that people are moving around, but he can't hear them or see their faces, so he thinks strangers are there to take advantage of him.
My mother has taken over the holiday dinners. I am very proud of her. She's never really spent a great deal of time in the kitchen. She was a young wife in the early 60's when companies decided to make things quick and easy for the modern housewife. When she saw TV dinners, frozen foods, and mashed potatoes in a box, she said "that's for me!!" I grew up eating these kinds of meals and didn't even like "real food".
Now that my mother is in her early 70's, she's been cooking. She bought a bread machine the day before Thanksgiving so that she could bake bread. She did an excellent job with the turkey. It was beautiful and it wasn't dry! She plans to have Christmas dinner at their house too. I, for one, am very happy about my parent's new holiday hosting. As far as I'm concerned, we can have all future holiday dinners at their house. When my mom get's too old to cook and my dad's too old to cut the turkey, my sister and I can pick up the slack. It just feels better there.
My, day after Thanksgiving, art project
This is an acrylic, mixed media piece on a 10X10 canvas
Oh yea, one last thing. My mother makes fruitcake and, even though many people do not like it, we love it. Here's a Squidoo article that I wrote last year about my mother's fruitcake!
Saturday, November 24, 2012
Monday, November 12, 2012
Some Really Good Things on Etsy!
'holiday blues' by recreated1
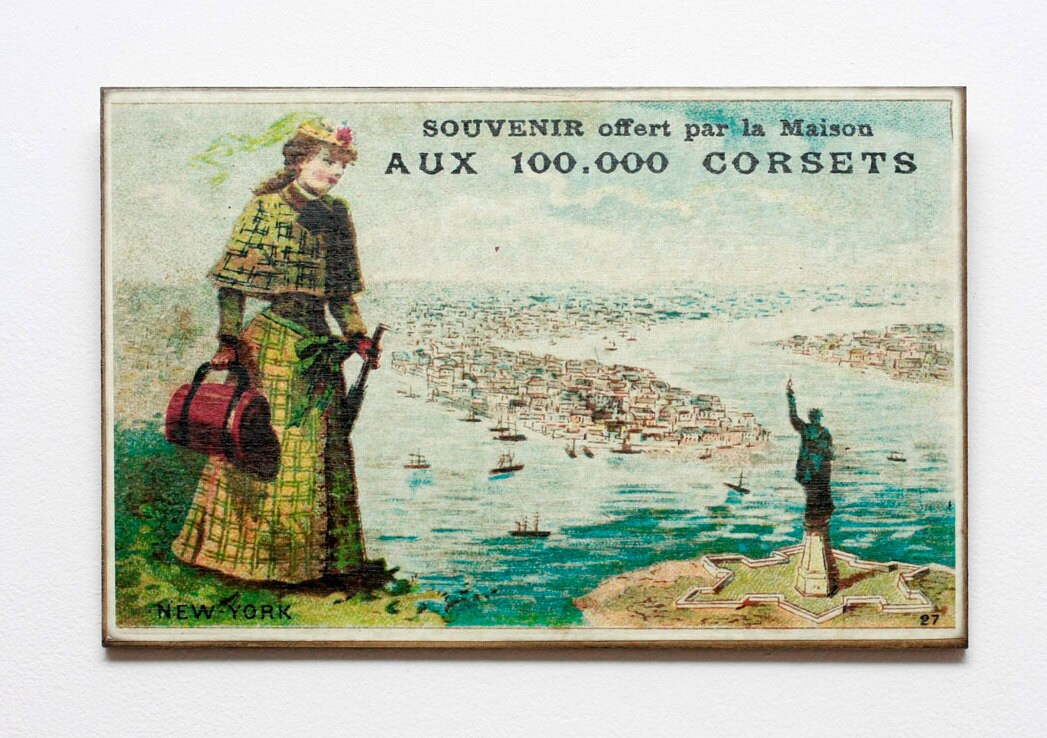 Retro Wood Wall Art 8x12&quo... $21.90 |  Botanical leather bracelet m... $15.00 |  Wooden Key Box, Key Holder,... $36.00 |
 Dark Teal Earrings, Teal Blu... $37.00 | 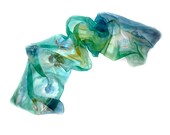 Hand Painted Long Silk Chiff... $68.00 | 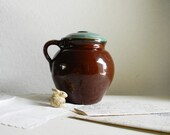 Wonderful Vintage JUG Crock ... $28.00 |
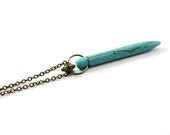 Turquoise necklace: blue nec... $24.00 | 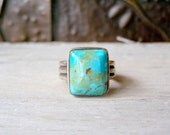 Sterling Silver Turquoise ri... $110.00 |  Earrings "Mermaid's... $25.00 |
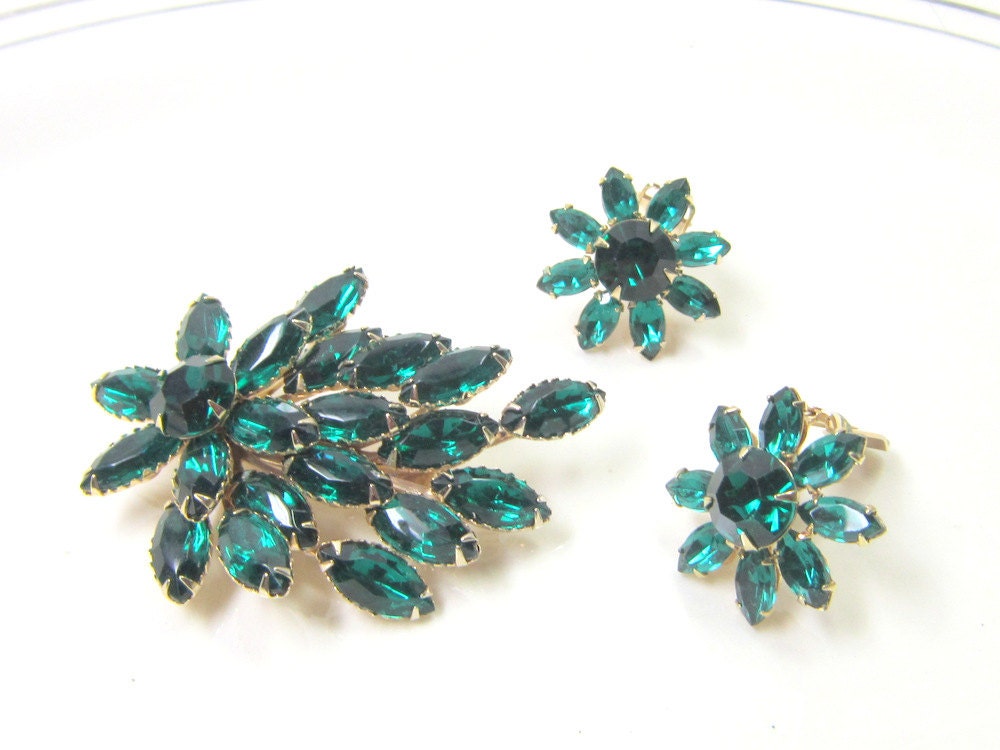 Mid Century Jewelry Pin Earr... $62.00 | 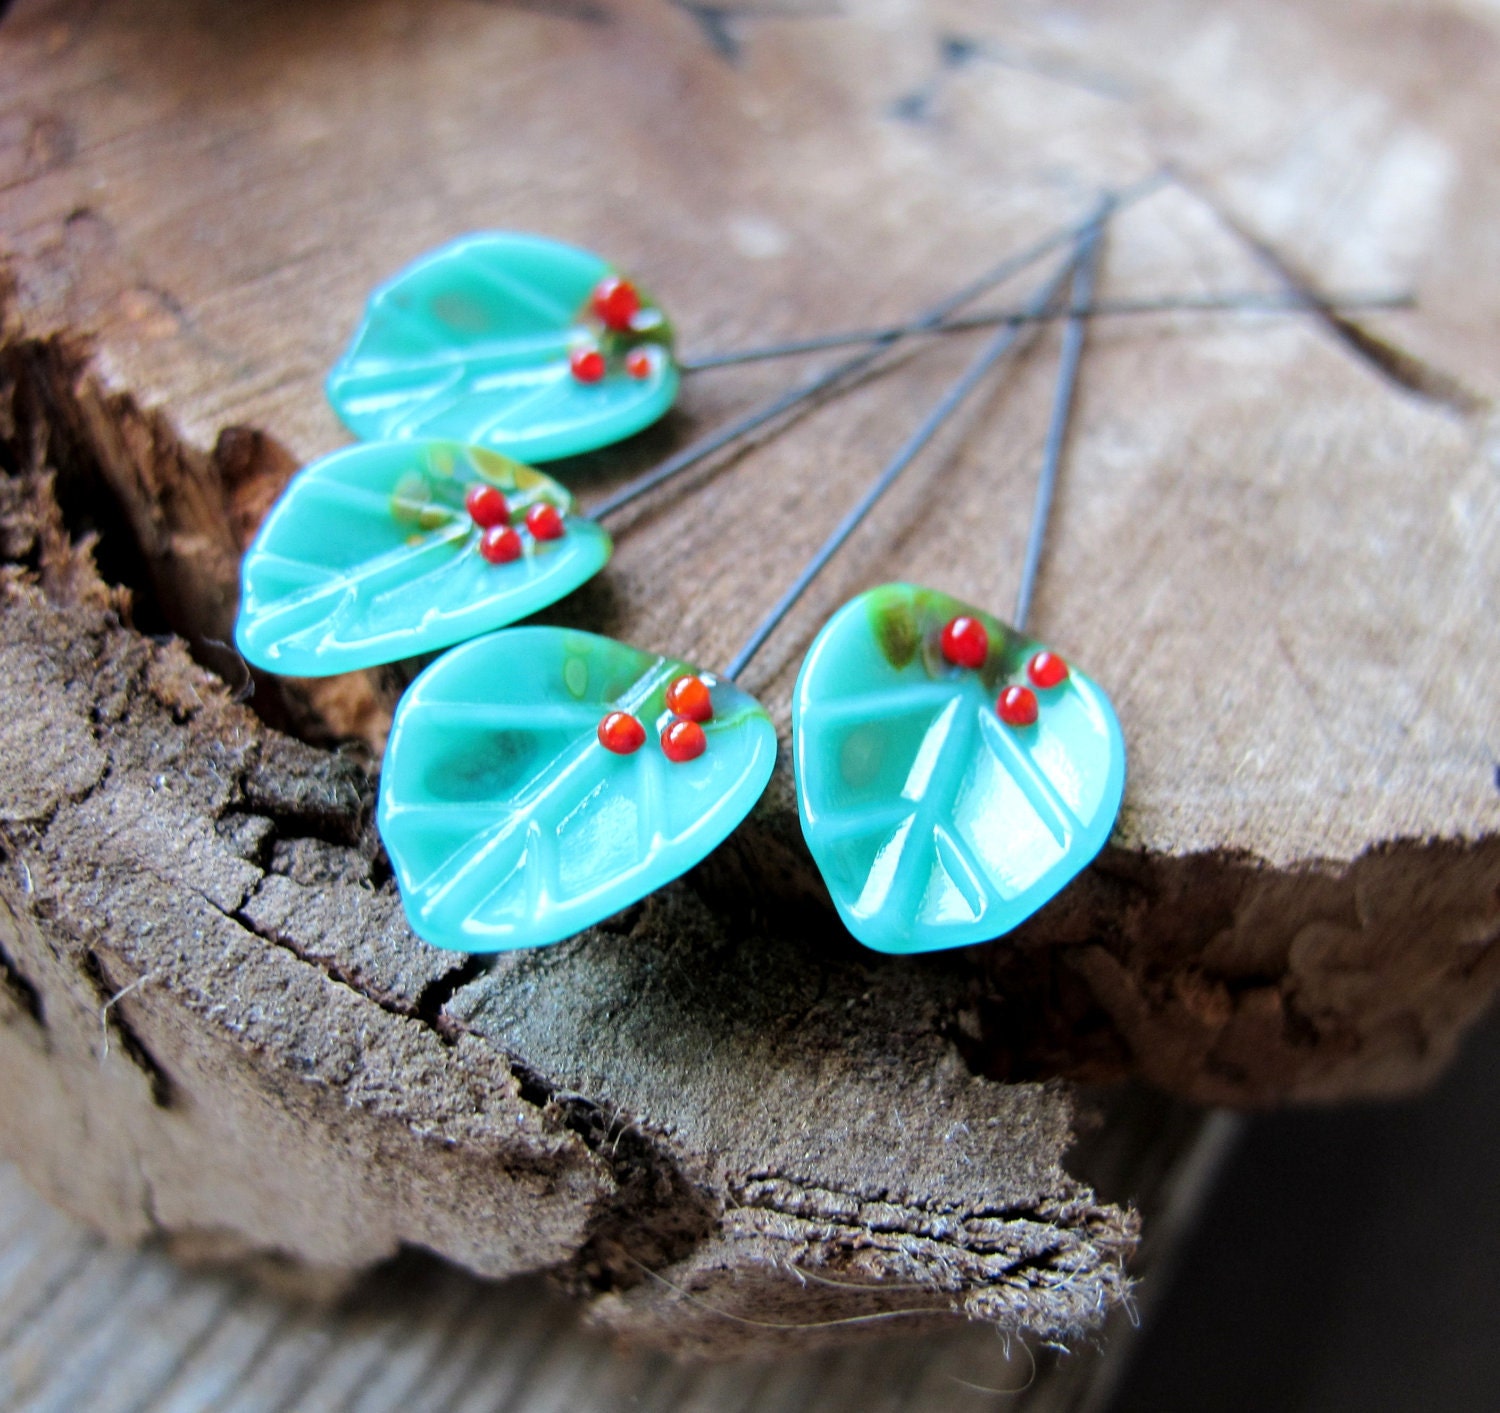 Glass Charm Leaves. Handmade... $15.00 |  Blue Floral Shawl with Fring... $55.00 |
 Blue Mid Century Pillar Salt... $25.00 | 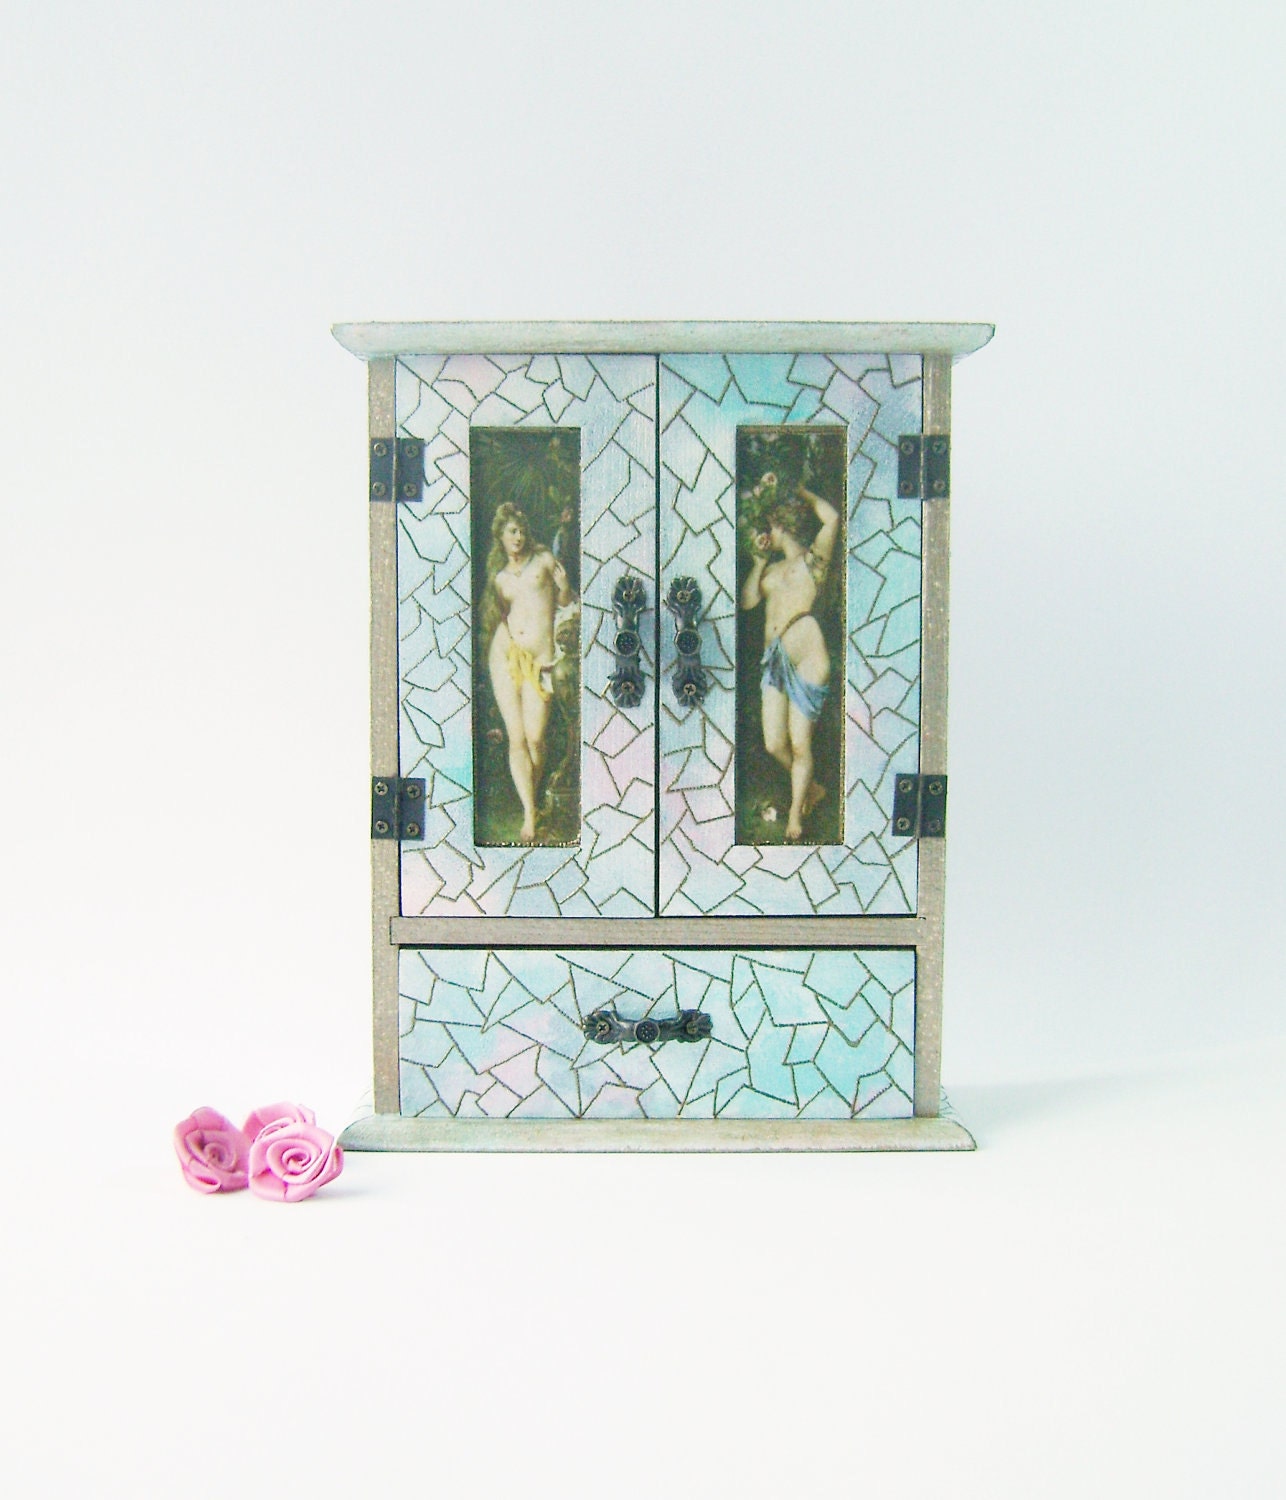 Decorative Vintage Hanging W... $45.00 | 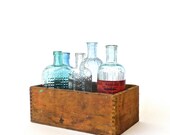 Magic Yeast Wood Advertising... $22.00 |
 Aqua Blue Turquoise Book Col... $20.00 |
Treasury tool supported by the dog house
Monday, November 5, 2012
Playing around with stencils
My original idea was to paint a canvas with lots of different colors, then cut out paper dolls and attach them to the canvas, then paint white over it.
So I flipped thru several fashion magazines and carefully cut out the models. Then I glued the magazine models to cardstock and cut out the dolls again. I was pretty happy with the way that the canvas turned out. I used spray paint and acrylic paints. Then I made a mistake. I started stamping various designs over the paint with archival ink - bad choice. It seems to repel paint. So when I spray painted the canvas white, you can see little black flowers peeking thru here and there. As you can see, the paint got under the stencil so I didn't get the sharp lines that I had envisioned. Even though I'm putting a photo of it up now, I'm going to do a lot more work on it. This will just be my bottom layer.
However, I did discover that any time you cut out a paper doll, you also have a reverse stencil, so I played around with some of my citra solv papers and convolution papers that I have made and this is what I came up with.
I think these are kind of cute. Maybe I will make some small ones that I could put on greeting cards. Sure - I'll get right on that. See you later.
Thursday, November 1, 2012
The Look of Metal - Take Two
I tried the faux metal look again. This time I used a small canvas for the substrate. I added small plastic scrapbooking decorations and lightweight, wooden cross ornament.
I started out just like last time, but when I got to the point of adding the tin foil, I changed my mind. The foil just wasn't working out because the cross was little thick, making it difficult for the foil to cover without ripping. So, I decided to paint the entire piece with bronze metallic craft paint. When it dried, I brushed on Asphalt Driveway Crack Filler. I added a little water to the asphalt to make it thinner Surprisingly, the asphalt dries in about 10 minutes. I put a little turpentine on a paper towel and rubbed it over the piece removing part of the asphalt, exposing the bronze underneath. I like it. I plan to brush on a clear sealer before hanging it on the wall.
I started out just like last time, but when I got to the point of adding the tin foil, I changed my mind. The foil just wasn't working out because the cross was little thick, making it difficult for the foil to cover without ripping. So, I decided to paint the entire piece with bronze metallic craft paint. When it dried, I brushed on Asphalt Driveway Crack Filler. I added a little water to the asphalt to make it thinner Surprisingly, the asphalt dries in about 10 minutes. I put a little turpentine on a paper towel and rubbed it over the piece removing part of the asphalt, exposing the bronze underneath. I like it. I plan to brush on a clear sealer before hanging it on the wall.
The Look of Metal
I watched a YouTube video by Gary Reef about creating the look of metal. His work was very pretty, so I figured I would give it a try. I used a little 5X5 wooden block, a "Faith" bookmark, a little scrapbooking trinket, and 3 little crosses from my jewelry-making days.
Following Mr. Reef's instructions, I glued the items onto the block, then brushed gel medium all over the top and sides. The next step is to put regular tin foil on, pressing it into all of the crevasses. Now, this was the most difficult part. It, of course, looked very easy in the video, but I had problems with the foil ripping as I tried to press it around the little crosses. I did the best that I could. Next time I'm going to try some different types of foil. Oops, I almost forgot, I had also glued some cut up portions of paper doilies on the side so that the sides would have texture under the foil.
The next step was to put some paint on it. I used blue, yellow and a tiny bit of metallic purple acrylic paint. I just mushed it all over. In the video, Mr Reef says to use "Bitumen" for the next step. Now this is not an easy thing to find. Evidently bitumen is a term that they use in Australia and places other than the U.S. It's actually an asphalt-type product. I went to Lowes and studied the asphalt aisle, finally settling on Asphalt Driveway Crack Filler. I had read online that wood stain would also work, so I picked up a small can of wood stain in Ebony. Even though he used the asphalt (bitumen) in the video, I went with the wood stain because I thought it would be easier. After the paint dried, I painted on the wood stain. My advise to anyone who wants to try this - DON'T use the wood stain! It took forever to dry. It was still tacky after 4 days. I got tired of waiting for it to dry and moved on to final step..I put a little turpentine on a rag and rubbed it over the piece removing some of the stain, revealing the painted "metal" underneath. And, here it is.
The photo is kind of dark, but you get the idea. I'm going to try it again, but next time, I will use the asphalt product to see how that goes. Here's the video:
Subscribe to:
Comments (Atom)


