Wednesday, March 30, 2016

Hop Along and Win a Gel Press Plate - "Stained Glass" Project!!


Thank you for joining our first Gel Press Blog Hop!  We will have a challenge every month!  This gives you the opportunity to play along AND win a Gel Press for yourself!  This month you can win an 8" Round Gel Press Plate!!  

Enter by going to all of the blogs.   Leave a comment on the Gel Press Blog telling us your favorite project!  You can comment between now and April 7th!  Winner to be announced on Gel Press Junkies on Facebook and Gel Press product page April 8th!  You will have your 8" Round Gel Press to make a project to play along with our Earth Day designs April 22!  Enjoy the projects and good luck!


Here's my project!

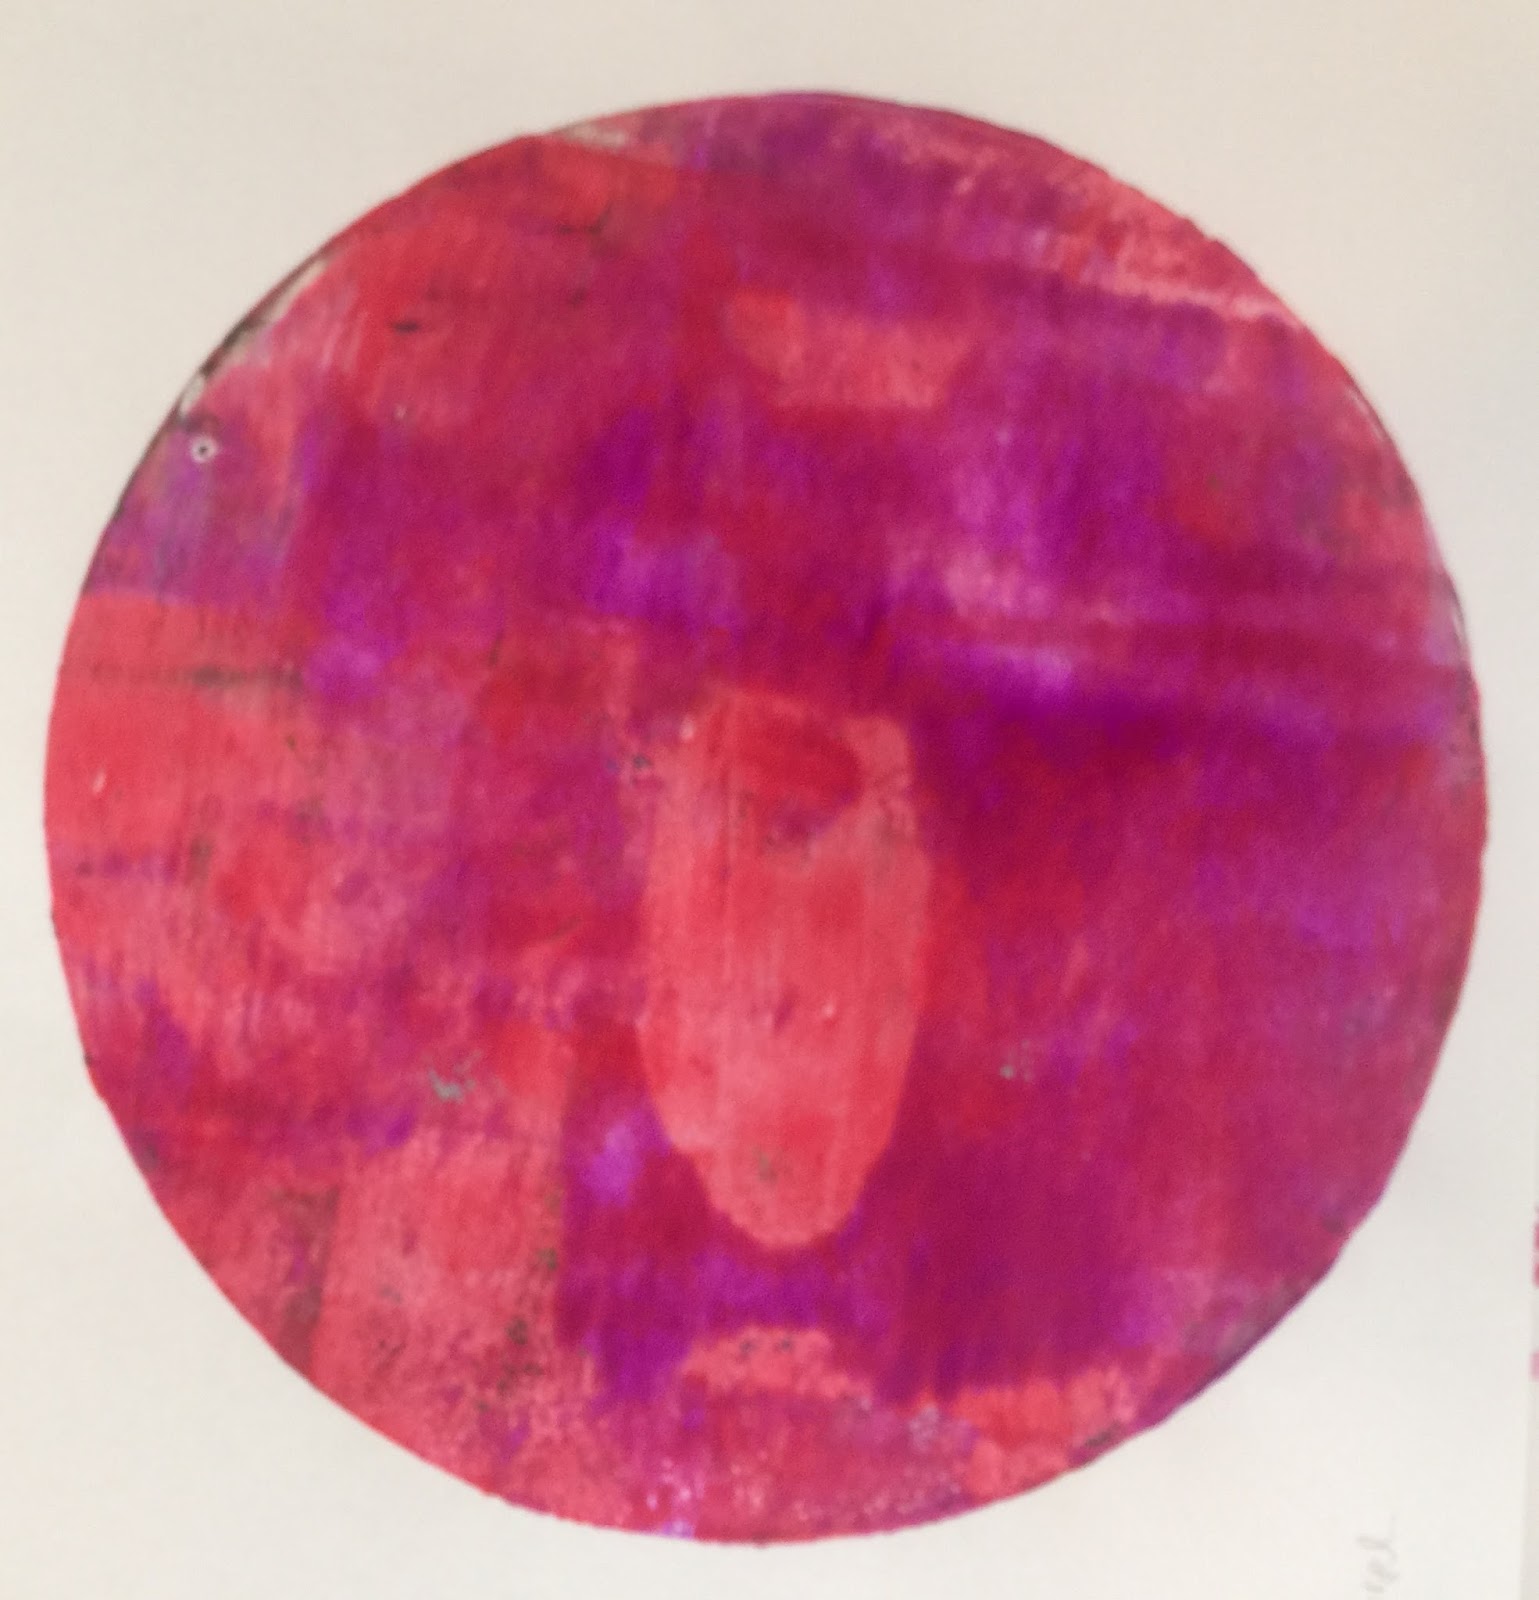
I started out by making 12 round prints on my 8" Gel Press plate.  These prints are very random.  For this project, you really don't need to put a lot of thought into it.........just keep putting paint and stencils on the plate.  That's what's so wonderful about printing on the Gel Press - everything looks cool.  The photos on the left are the first pulls and the ones on the right are the, completed, prints.

Here's how they started out -


Now, this was the "somewhat" hard part.  I had to go back to my geometry days to figure out the measurements for the squares inside the circles.  The circles in the squares are easy - just measure the diameter of the square and cut out a circle the same size.  

To make the squares fit inside the circles, measure the diameter of the circle and that is going to be the diagonal measurement for your square.....for example....if your circle is 4", draw a line 4", then another 4" line that bisects the first line exactly in the middle, making a right angle, then draw lines, connecting all corners to make a square.  The square should fit, perfectly (or pretty close) in the circle.

For each circle and square that I made, I cut another one 1/4" smaller.  Then I started layering them.  Here's a quick video to show how I put this together.


I used fluid matte medium to put them down.

Then, I used a black charcoal pencil to shade around each circle and square to give the whole piece some depth.

When it was finished, I sprayed it with a, glossy fixative.


Now.....hop on over to the next blog on the list below to enter for your chance to win the 8" Round Gel Press Plate.

PEACE!

Cyndi


Monday, March 28, 2016

Creative Heart Monday - Spring Flowers Mixed Media

Happy Monday to all of you Creative Hearts!!


Today's project is really colorful and really textured.  I wanted to use some molding paste....so I did...and, quite honestly....I didn't know where to go from there.  This whole thing was kind of a "winging it" piece.

So here it is!


List of Supplies

Golden Hard Molding Paste
Dylusions Ink Sprays - Bubblegum Pink, London Blue
DecoMedia Misters - Primary Magenta, Purple
Golden Fluid Acylic - Black in a Fineliner bottle and, later, in a squeeze bottle
Gelatos - Pink, Orange, Yellow, White
White Liquitex Gesso
Montana Paint Pen - White
Oil Pastel - Ultramarine Blue
Faber-Castell Big Brush Pen - Light Grey, Blue
White Sakura Gellyroll Pen

I forgot to mention this in the video, but I sprayed the piece with a Fixative after I added the Gelatos, because I knew that I would not be able to add the Gellyroll Pen or the Big Brush Markers over the Gelatos or the Dylusions Ink.  Dylusions bleeds thru everything.  This is, actually, a wonderful thing if that is the look that you are going for (which I did want to a certain extent).


For those of you that subscribe to Creative Heart Monday, but do not subscribe to my blog.....I'll give you a "head's up".  I have another video that will go live on March 30th.  I really like this piece.  I wish I could show you a picture of it now, but I have to wait until the 30th.  So, either subscribe to my blog, subscribe to my YouTube Channel, or, just remember to look for me on the 30th!!!!

PEACE!!

Cyndi

Sunday, March 27, 2016

My New Facebook Group


I've never been a big Facebook participator......until, I found Facebook Groups about mixed media art.  A few months ago, I started sharing my art, enjoying the art of others, learning new stuff, etc., etc.  I started noticing the little square at the bottom that said "Create a Group" and I've been thinking about it for some time.  Today, I found out that one of my, fellow, Gel Press Creative Team members had a group, so I decided that I had to have one too.  By the way, my teammate is Sandee Setliff (you should check her out).

After careful deliberation, I named my new Facebook Group, Mixed Media Passions.  I would like to invite you to join my group and share your art.  My group is open to all sorts of mixed media art - collage, mono-printing, art journalling, cardmaking, ATC's, 3D projects, painting......basically, anything that involves paint, glue, paper, ink.......you get the picture.

You can also post info on any giveaways, challenges, or bloghops that you are having or participating in.   I plan to have some giveaways and challenges in the near future.  I also love videos......so post your videos.

I hope that you will join my group!!!

Have a wonderful evening.

PEACE!

Cyndi

Monday, March 21, 2016

Creative Heart Monday - True Colors

Happy Creative Heart Monday!

Today, we are making a cityscape with prints made on my Gel Press plate.


List of Supplies

Strathmore Bristol paper 11" x 14"
Liquitex White Gesso
Masters Touch Acrylic Paint - Light Purple
Decou-Page by DecoArt
Golden Fluid Acrylic - Carbon Black
Black Charcoal Pencil
Gel Press Prints
Handmade Templates

How to Make the Bridge Template

  • On cardstock, draw a straight line, the length of the bridge.
  • Decide how wide you would like for the widest part of the bridge to be, divide in half, then use the "half" measurement to make marks above and below the straight line.
  • Draw lines from the marks, just made, to the end of the line.  You will be making a long triangle.
  • Fold triangle in half.
  • Decide how far you would like the "arches" from the top of the bridge (I used 1/4 inch).  Make a mark at the widest end of the triangle, and draw a line from this mark to the point.
  • Now, using something round, place it halfway over the triangle at the widest end and keep it below the line that you made in the, above, step, and draw the half circle.  Then keep making half circles along the triangle, make each one, slightly, smaller.  I just sort of  "eyeballed" this part, but if you are a perfectionist......measure.
  • Cut out the half circles, open template, and you have it!!
If these directions are too confusing and you would like to have a pdf of the template, send me a comment or email.

How to Make the Buildings

I cut rectangles for the different height buildings out of cardstock.  Then I cut, identical rectangles for the bottom "underwater" buildings.  I cut the underwater reflection buildings about 1/5 shorter than the, above water, buildings.  Then I shaded the right side of each building rectangle at different widths, using carbon black paint and a sponge.  After shading them, I cut tiny portions off of the tops on each side to make them look like they were dimensional.


I love New York City.  No...this doesn't look like the NYC skyline....but, it is a cityscape!  I can't wait until December when my sister and I will be taking another New York City vacation.  Here we are in New York, three months ago.  That's my sis with Robin Roberts and that's me in the black hat, trying to hide behind the Christmas tree.


Subscribe to Creative Heart Monday!!

Have a great Monday and a wonderful week!

PEACE!

Cyndi

Sunday, March 20, 2016

And The Winner Is......

We have a winner!  We reached 1016 (actually, 1019) views on my "Circles" video last night.  This is my first video to have over 1000 views!

Here's how I chose the winner.....

Everyone's name was written on a strip of paper and folded into an origami bird (not really, but that would have been cute).


Then, I tossed them around for a while.


Then I picked one.  You can tell that it's me because I have paint on my hands and my nails look like crap.


And......the winner is......Jane Wetzel!  (insert applause)  Congratulations Jane (please send your mailing address to ceeceestudio@yahoo.com and I will send the "Circles" to you.

Now wasn't that fun??

Again, thank you all so much for helping me over this 1000 view mark.

I will be having another giveaway in a few weeks.  I'm not allowed to tell you what it is, but it's going to be, really, good.

Have a great Sunday!!

PEACE!

Cyndi

Thursday, March 17, 2016

My First Give-A-Way!!!!!

I've really started building a following since the beginning of the year.  I started making videos on a regular basis, and it has enabled me to meet so many nice people online, and receive some wonderful feedback.

I'm really excited because I have almost reached 1000 views on one of my videos.  (I know that's not a lot in Justin Beiber/Beyoncé land, but it's a lot for me).


The subscribers to my blog and "Creative Heart Monday" have increased and I would like to say "thank you".  So.....here's the deal....check out my "Circle" video and share it with someone (or several someones)...then, comment below.  Everyone that comments will be entered in a drawing.  The drawing will be held within 24 hours of the video reaching 1016 views. 

What will you win??????  The "Circle" mixed-media piece, of course.  I will contact the winner for your mailing address.

I'm not advertising this giveaway on Facebook or any other social media.  I'm just putting this out to my subscribers.  If you share this with someone, and they subscribe to my blog (before we reach 1016 views, I will enter them too!  We are at 973 views......so we don't have much further to go.

Thank you and good luck!!

PEACE!

Cyndi

Tuesday, March 15, 2016

Gel Press™ Jewelry!!


I'm always looking for something else to do with my Gel Press™ plate.  Today, I worked on some quick prints for jewelry.  I went through a jewelry-making phase about 4 years.  I spent a lot of time at the bead store.  Then, I gave it up and gave most of my jewelry-making supplies to my sister.  But, today I felt urge!!

I started out by making two Gel Press™ prints on my 5" X 7" plate.  It only takes a little bit of paper and I'm going to cut it up into tiny pieces, so the prints are very random.


 Jewelry parts from the craft store - earrings and a pendant.


 Miscellaneous stencils and stamps.

Get your Gel Press™ Plate and brayer ready!

A couple small dabs of light purple and magenta (the colors in the photo aren't very accurate)


 Spread the paint out with the brayer.


I used sheet music for the gel prints.  Just place the paper on top of the painted plate, rub, rub, rub, and lift!!


Then a little off white and light blue on the plate.


 Brayer it out, then I used a foam stamp to pull some of the paint off.


Then, put the purple/magenta print back on the plate and pulled the second layer.


 Now for the base of the second print........................

A dab of blue and citron green paint.


 Brayer it out.


 Pull the gel print!


A little orange and pink back on the plate.

Brayer it out.


Added a couple stencils on top of the paint.

and, pulled the print on top of the blue/green gel print.


So, now I have these two Gel Press™ prints!


Next, I started stamping and doodling, randomly, on both prints until I felt that there were some interesting areas.  Remember, we are going to cut out little pieces for the jewelry.


To finish, I just cut out some areas that I liked, using the jewelry pieces as a template.  I used regular glue to adhere the gel print pieces to the jewelry.

For the earrings, I waited a while for the glue to dry, then covered them with the clear, adhesive pieces that came with the earring pieces.  I added my own earring wires (they were not included in the package).


(this pair needs some wires)


For the pendant, I added "Live Simply" with rub-ons before I cut it out.  Then, after waiting for the glue to dry, I covered the paper with Inkssentials Glossy Accents.  This pendant did not come with it's own cover.  the Glossy Accents provides a nice, shiny finish and seals the paper.  I'll probably hang this piece on a cord.


That's it!!!  It looks like a lot of steps, but it's really easy and the possibilites are endless.  Here are some pix of other pieces that I've made.


PEACE!!

Cyndi

Check out my YouTube Channel for lots of art and how-to videos!!