I'm so excited. (it doesn't take much). I was browsing around
Traci Bautista's site about a month ago and saw a short tutorial on making designs out of hot glue, then using them as stencils and masks in your backgrounds or wherever you think they might look good.
I kept meaning to try it, but I couldn't find my hot glue gun. Then, of course, when I found the gun, I couldn't find the glue. Then, I found the glue and couldn't find the gun again, and so on, and so on.
Today, I happened to run across the gun and the glue so I knew that today was the day. In her tutorial, I believe that she says to do this on a teflon mat. I don't have a teflon mat, so I used freezer paper.
I took my time and carefully formed each design. No I didn't. I just started making designs willy nilly. I had glue strings everywhere, but I figured that I could cut them off at the end. I was surprised at how easy it was. I let them completely cool, then began pulling them off the paper. If I had used the teflon, they would have popped right off. Mine stuck to the paper here and there, but for the most part, I just used my fingernail and scraped them off. The glue is strong, so they didn't break or pull apart. On the ones that stuck to the paper, I just scraped or cut the paper off with a small exacto knife.
I tried them out right away on a piece of art that I was never happy with. I sprayed Dylusions Ink, but you could use any kind of spray paint. You could even put paint or ink on the flat, back of the designs and use them to stamp.
I am pleased and plan to make some more. They will be great for using on backgrounds or art journal pages. I don't know if Traci Bautista made up this technique. She probably did because she is so creative and talented. Anyway, thanks Traci!
Here's some pix.




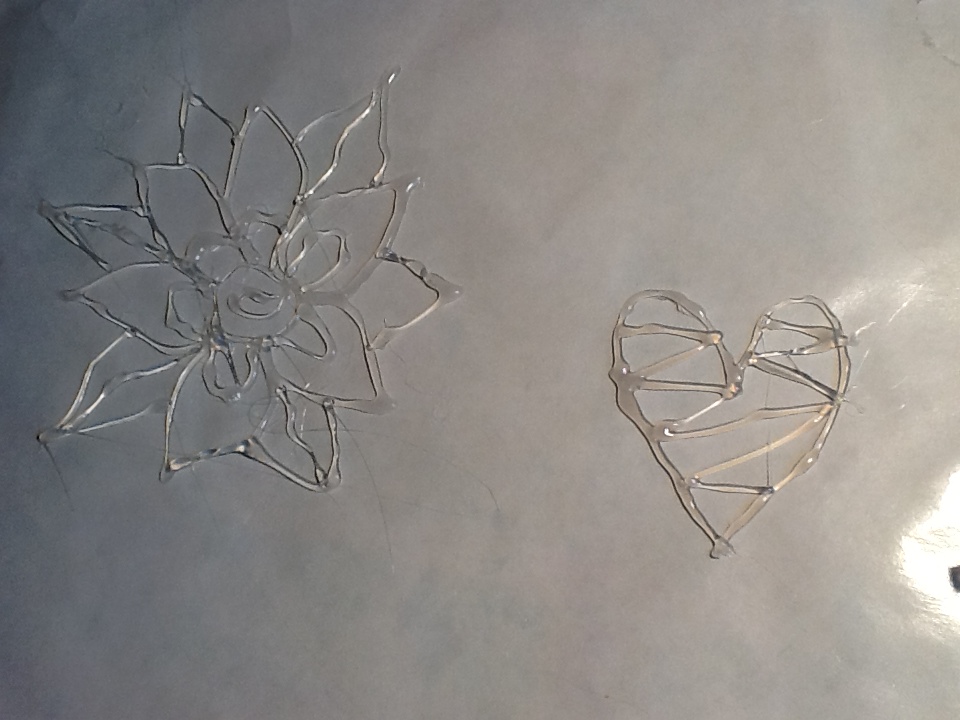
 You can see the paper stuck to this one.


