Showing posts with label gelli arts. Show all posts

Friday, February 5, 2016

Valentine Gelli Print Art


Valentine's Day is also my anniversary.....26 years!

So, in honor of such a very, very long time, I did a little gelli art.

I started with 2, pre-gessoed, panel canvases (5" X 7").  Using Tim Holtz Distress Stain in the dabber bottles, I started the background.

Then added a little stenciling and markmaking, with black and white gesso, and Americana - Turquoise


Grabbed some collage papers from a Shawn Petite collage pak.


Cut some hearts and strips from my gelli prints and adhered with Liquitex Matte Medium.


Added some little pink hearts, outlined with white Gellyroll pen, then outlined everything with a black charcoal pencil


and, Voila....his and hers Valentine/Anniversary art!

Peace!

Cyndi


Monday, April 1, 2013

Playing around with Gelli Plates Again

I really love the Gelli Arts gelatin plate for monoprinting.  It is so easy and it's really simple to clean up. Inexpensive craft paint works the best.  The prints make great collage paper or backgrounds.

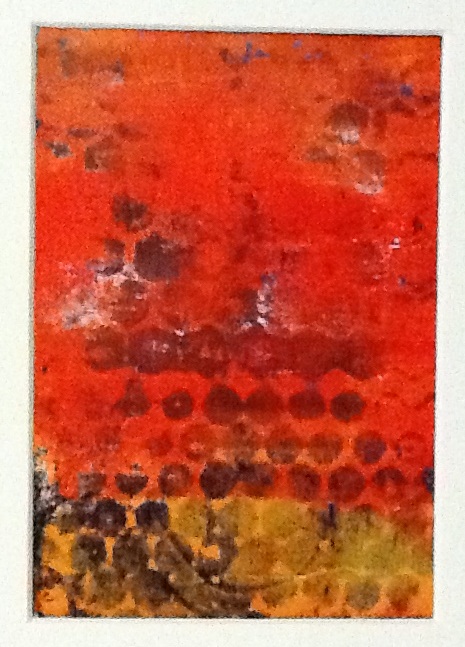
Here are a few that I did this afternoon.

I used a wood graining tool on these two!


Also, here's a painting that I did in my art journal some time ago.  I was flipping thru today and I had forgotten all about this one.  I touched the trees up a bit.  This is a little dark for me.


This is the Gelli plate that I use - the 8X10.

Friday, October 19, 2012

Gelli Prints - So Cool!

I found the coolest thing on Youtube.  I watched the video, then immediately had to order one of the plates.  It's a thick gel plate that comes in different sizes.  I got the 8X10.  I'll describe the process, but you really need to watch the video.

I placed the gelli plate on a piece of waxed paper. I just used inexpensive, acrylic craft paints and regular copy paper. I squeezed a little paint onto the geletin plate, then spread it around with a rubber brayer. I have cut some rings out of copy paper, then laid them randomly on top of the paint, then placed a clean sheet of paper on top and rubbed across the whole thing with my hand.


When I pulled the paper up, the paint had transferred and left the ring design. I let the paint dry (it dries very fast), then did it again with a different color and some different paper shapes on top.

I also pressed a stencil into the paint of some of them.  On the one to the left, I used a honeycomb stencil.  You can use all kinds of things to create different images.  

These papers would be great to use in collages or to make cards.  I plan to use them, instead of purchased decorative papers, for a the background on a series of greeting cards. (of course, as we know, I plan to do a lot of things)