Showing posts with label distressing. Show all posts

Thursday, November 14, 2013

Love that Paris Grey


I was busy today with Annie Sloan's chalk paint again.  Since the only color that I have right now is Paris Gray, I've have a lot of grey sitting in my art room right now.  I just placed an order for some Louis Blue, Old White, and Versailles from Robyn Storey Designs.  I hope that I get it tomorrow.

Here are a couple of my projects.


I started out with an old wooden jewelry box.  I did some taping to protect the felt and mirror.

Then, I put two coats of chalk paint on the exterior and as much of the interior that I could reach.


Using a sanding block, I sanded all of the edges, corners, and drawer pulls.  I used the wax brush to apply Annie Sloan Clear Wax over the entire piece, then wiped it off with a clean, soft cloth.

I'm pleased with the way it turned out.  I just listed it in my Etsy shop..

Next piece -

This shelf with paper towel holder was originally pink (actually, it was probably stained wood, then some other crafter painted it pink), then I added a couple coats of Paris Grey chalk paint.

I printed out this typography from The Graphics Fairy.  I put a piece of transfer paper under it and traced the letters onto the wood.  Using tiny brushes and black,acrylic paint, I filled in the letters.

I found these chickens on The Graphics Fairy site too.  I printed them, using my inkjet printer, cut them out with a razor knife, then glued them to the shelf with mat medium.  


I distressed the edges with sandpaper.   I still need to add a layer of clear wax.

Let's see, what else did I do today?

I've had a little train case for quite a while.  I painted it with chalk paint a couple months ago, bit wasn't quite sur what to do with it.  Since I was busy printing things from The Graphics Fairy, I found some other cute graphics, so I did a little decorating.
Obviously, I have a ways to with this little case.

I also painted a basket.  I plan to stencil a number on the top.

That about does it for today.  If I get my Annie Sloan paint in the mail tomorrow, I'll start some of the furniture pieces that I got last week.  I can't wait!

Peace,
Cyndi


Sunday, August 18, 2013

Almost Finished! Annie Sloan Chalk Paint Coffee Table

We are getting close now.  I have one last step to do - the DARK WAX.  Dumdumdumdum................

This is how it looked BEFORE:

This is what I have completed so far:

I bought the Annie Sloan Chalk Paint, Clear Wax, and Dark Wax.  I also purchased her large wax brush.  Being the cheapskate that I am, I did not buy her special paint brush or the small wax brush.  Do I regret this?  Yes.  I should have just gotten everything because I would have only had to pay postage once.  But nooooooooo.  I thought I would be smart and find similar brushes at one of the many paint stores and home improvement stores in my town.  Didn't happen.

I ended up using a nice, new Wooster brush to paint.  It actually worked fine, but I'm still getting the Annie Sloan one for my next project.

First stir your paint.  You will notice that I used a very large knitting needle.  You can use a paint stirrer if you like - I couldn't find one.


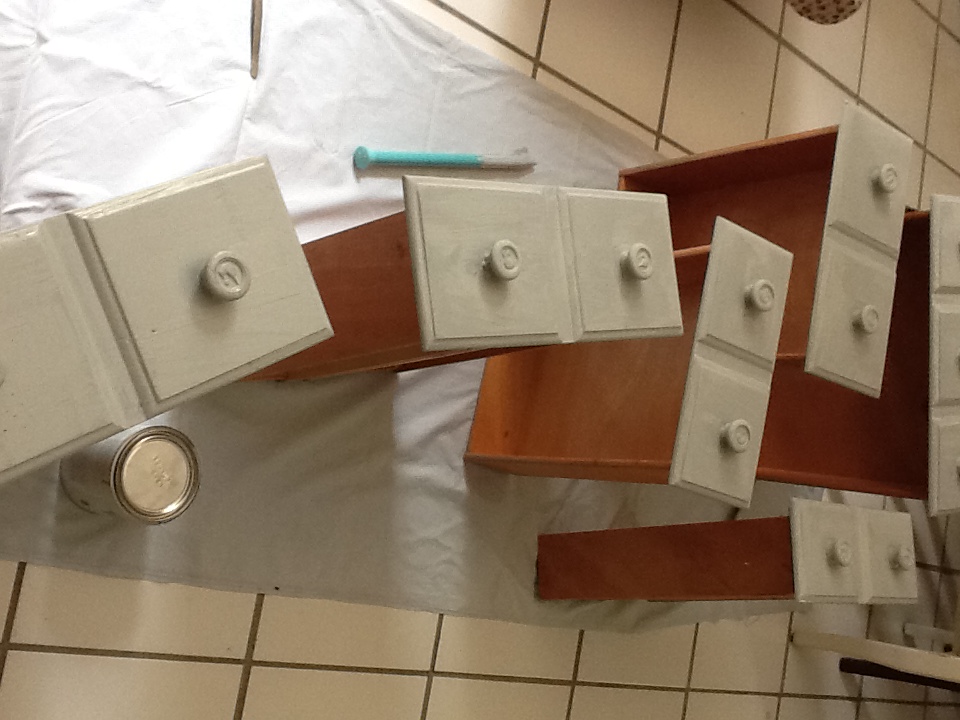
Without sanding, priming, or anything, I slapped on the first coat of Paris Grey paint.  It went on like a dream.  In the video tutorial that I watched, she said that if you are going to  paint the knobs, just leave them on - so I did.  Next time, though, I will take them off and paint separately because it was kind of a pain getting in the nooks and crannies (especially when I got to the waxing step).
 

I didn't need to, but I let the first coat dry overnight.  The paint actually dried in about an hour, but I wasn't taking any chances.

Then, I put on the second coat.  It looked great.  (I forgot to take a picture of the 2nd coat, but it looked just like the first)

Some people put on the clear wax before they distress, however, the video that I watched said to sand before you wax, so that's what I did.  I used a sanding block with 100 grit sandpaper and began sanding around all of the edges and corners.  I went a little heavier on the corners because that is a place that would naturally get nicked with age, and we want it to look like it's happened over the years, right?  When I got the edges and corners all scuffed up, I went for the flat parts.  I was a little scared about the flat areas.  I just wasn't sure how much was too much, so I played it safe and just sanded a bit here and there.  And this is how it ended up.


The next day, I did the Clear Wax.  As I mentioned, I had purchased the Annie Sloan large wax brush so I was prepared.  The brush worked great.  I just dipped it in the wax and started brushing into the table firmly.  I went around the sides first, leaving the top for last.  On the top, I brushed back and forth in long strokes going from one edge to the other with each stroke.  The clear wax deepens the color of the paint slightly, so it is easy to see where you have been and what's left.  I let the wax cure overnight and now it feels smooth and velvety.

Today, I went downstairs with my Dark Wax, extra fine steel wool, rags, and stencil brush in hand.  Then, I walked back upstairs and watched the tutorial again (for the 3rd time).  As I mentioned, I did not buy the small wax brush, which is what you would use to apply the dark wax.  I was going to use a small stencil brush, but I've come to  my senses.  I'm going to follow the rules (for a change) and order the rest of the brushes from Robyn Story Designs in Tampa, FL.

Stay tuned for the "reveal".

Peace,
Cyndi

Wednesday, August 7, 2013

Great Thrift Store Day

There isn't too much that I like better than a thrift store or a yard sale.  I love estate sales too, but they always seem to be a little pricey.

I am so excited about my first item.  As I've mentioned before, I want to distress some furniture with chalk paint.  I did make my own chalk paint and I'll show you the results from that a little later.  It was OK, but I'm getting ready to break down and buy the real stuff - Annie Sloan.

I didn't actually get this piece at a thrift store.  It was a Craigslist.org find.

How great is this going to look re-finished with chalk paint and wax?!?  I think I'm going to do a light greyish color, but I'll have to look at the Annie Sloan paint chart and see.  Annie Sloan Chalk paint is not sold in my town, so I'm going to have to order it online.  I hope it doesn't take long to get, because I am really excited about do this.

I watched the best videos by Christen Bensten on using the chalk paint.  I'm feeling pretty confident.

Next, I found this cute little chair.  I plan to paint this with the chalk paint also.  I need to go to JoAnn's tomorrow to get some pretty fabric to recover the seat.

 
And lastly - a gorgeous frame.  The print is actually kind of pretty, however, I'm always looking for nice ornate frames and this one is great.  My plan is to paint the frame and make a chalkboard.  It's 24" wide and 28" high, so it would make a really beautiful piece.
 
 
When I got home from the thrift store, I went into a little painting frenzy.  I finally painted the pedestal cake plate that I made.  I glued a silvertone tray to a brass candle holder.  I still need to add a clearcoat.
 
 And, I painted some more Sirocco.  The shelf is actually the same green color as the cake stand, above.  It doesn't look green in the photo.  The shelf has 2 sconces that go with it.
 
That's it for now.  Peace, Cyndi