Showing posts with label gel press plate. Show all posts

Monday, January 23, 2017

Creative Heart Monday - Girls, Girls, Girls


Happy Creative Heart Monday!

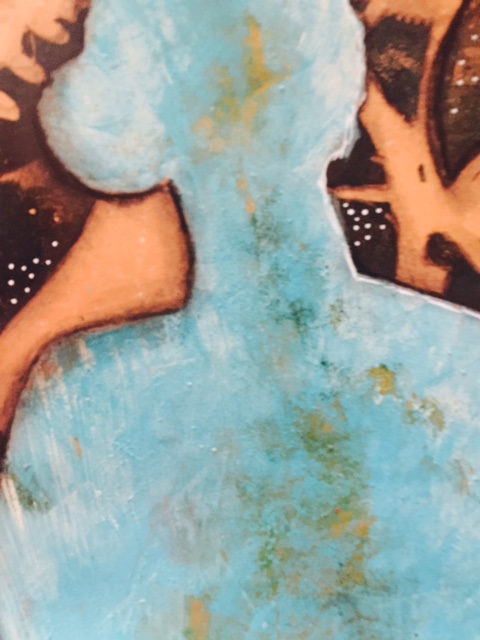
Today, I'm using several of my Gel Press plates as stamps.  I'm creating a very, very, very layered background, then using some, handmade, masks to develop the design.

I had an old, never finished, piece of art way back in my closet, so it was time to make something happen with that pitiful canvas panel.

Here we go.........................


Supplies

20" X 24" Canvas Panel
6" X 6" Round Gel Press Plate
6" X 6" Square Gel Press Plate
8" X 8" Round Gel Press Plate
8" X 10" Gel Press Plate
Rubber Brayer
Miscellaneous Acrylic Craft Paint
Dylusions Paint
Liquitex White Gesso
Black Charcoal Pencil
Handmade masks


COMING SOON - CeeCeeART Patreon

Also, don't miss the second Art Journal JAZZ this Thursday.....we'll be making the first journal page!!

Have a great Monday and a wonderful week.

PEACE!

Cyndi

Monday, December 5, 2016

Creative Heart Monday - Flower Garden


Happy Creative Heart Monday!


Today, we're doing a mixed media project, using handmade stamps and the Gel Press plate.  I'm using the Gel Press plate, mainly, as a stamp pad.

Here we go...........


Have a great Monday and a wonderful week.

PEACE!

Cyndi


Tuesday, November 22, 2016

Holiday Card Made with Gel Press

Here's my new project for the Gel Press YouTube Channel!!  All of the members of the Gel Press Creative Design Team have created video projects today, so after you watch mine, check out the others on channel!!


Have a wonderful day!!

Peace.

Cyndi

Friday, October 28, 2016

Gel Press® and StencilGirl Video Frenzy!!


We are moving into Fall, so Gel Press® and StencilGirl have teamed up this month.  Each member of the Gel Press® Creative Design Team has created a video of their project.

Here's mine...........................


Supplies

8" X 10" Gel Press® plate
Miscellaneous acrylic paints
StencilGirl Stencils -  Floral 1 and Circles Circles by Traci Bautista and Optical Large Stencil by Michelle Ward
Inexpensive wooden frame
Black Charcoal Pencil
Glossy Accents


Click the next link on the list to see another great project!!

Elena Lishchenko

Ann Strecko Koeman

Jen Doyle Kitchen

Cindi Bisson McGee

Sandee Setliff

Cynthia Cesare - you are here!!

Kathy Brauning Adams

Teresa Abajo


PEACE!

Cyndi

Thursday, September 29, 2016

The ART of Well Being


Art means a lot to me.  I'm not exaggerating when I say that I make art every day.  It makes me happy.  It keeps me sane.  I can't imagine my life without it.

I'm retired and art gives me a purpose.  I know what I'm going to do when I wake up in the morning. I have goals.  I learn something new everyday.  It gives me something to be proud of and it's opened up communication with a wide array of people that have art in common with me.  When a person is young it's easy to make friends, then during your work years you have relationships with colleagues....... but when I stopped working, my life became a lot smaller.  Art has helped me connect and share with people all over the world.

When I go upstairs to my art room in the morning with my cup of coffee, I am truly happy.  I start working on something and the "chatter" stops.  I stop worrying about life's problems and focus on my project for the day. My sister has stage 4 breast cancer.  She wrote a poem called "There's No Cancer at the Beach".  She says that cancer is in the back of her mind every minute of the day, except when she goes to the beach.  It's the only place where she can really quiet her mind.  My art room is my beach.

After you watch my, short, video.....hop over to the next project in the list below!!


Supplies

8" X 10" Gel Press Plate
Acrylic Paint - blue, white, pink, purple, lime green, turqouise
Mixed Media Paper
StencilGirl Stencils - S369 Pine Cone Woodcut, Optical Large,  Circles,Circles  Floral 1
Gel Medium
Vine Charcoal
Black Pen
Charcoal Pencil
Prismacolor Pencils
Pastel Pencils


Cynthia - you are here

Check out other, great, Gel Press projects on the Gel Press Blog, on Facebook at Gel Press Junkies, Pinterest, and YouTube

PEACE!

Cyndi


Friday, August 26, 2016

Back to Basics with Gel Press® Blog Hop


Gel Press 101 Back to Basics

With all the kiddos heading back to school, Gel Press® thought we should take you back to the basics!  Please visit each blog for an idea or technique that you may or may not have seen before!  Happy Hopping!


I love this technique.....letting the paint on the plate dry completely before adding another layer.  You can add as many layers as you want before making a print on paper.

Supplies

5" X 7" Mixed Media Paper
The Crafters Workshop #355 Stencil
"Gears" Stencil
Acrylic Paint - Titan Buff, Teal, Green Gold, Black, Copper
Black Charcoal Pencil
White Sakura Gellyroll Pen

Step One - Place stencil on plate and sponge on some Titan Buff


Step Two - After the paint dries, sponge on some Teal


Step Three - After paint dries, sponge on Green Gold


Step Four - After paint dries, brayer on black through the "Gears" stencil.  Remove stencil.


Step Five - After paint dries, brayer Bronze over entire plate.


Step Six - While the bronze paint is still wet, place paper over plate and rub for approximately and minute or two, then slowly pull print.  Check while you're pulling to make sure that all of the paint layers are lifting....if not, replace paper and rub some more....then pull.


I added a little shading with a black charcoal pencil and little white dots with a Gellyroll pen.


Now, hop on over to the next link, below, to see more great "Gel Press® 101 Back to Basics" projects.  
Check out other great projects on the Gel Press® Blog, on Facebook at Gel Press® Junkies, Pinterest, and YouTube


 PEACE!!

Cyndi

Friday, July 29, 2016

Gel Press® and ETI Earrings and More Blog Hop

Welcome to the ETI/Gel Press® Blog Hop.  The designers for both companies have been creating wonderful projects.  Please leave a comment on the Gel Press® blog and on the Resin Crafts blog as to which projects you found most interesting or inspiring.  One winner will be picked, at random, Sunday, July 31, 2016, at 10pm CST.  The winner will get both Petite sets of Gel Press® plates and ETI Jewelry Resin!  Hop now through Sunday! Winner must be 18 or over and live in the USA.  Good Luck!


Gel Press Petites and ETI Resin


I love making jewelry!  I've made a lot of pieces using my Gel Press® prints.

Earrings with Tiny Gems


Gel Press Jewelry


Supplies

Gel Press® prints - I chose similar colors, yet one is lighter.
Square earrings bezels
Tiny gems
Tweezer to pick up gems
Glue

Instructions

1.  Cut two squares to fit earrings

2.  Cut two smaller accent pieces for centers

3.  Dab a bit of glue in center of earring bezel and attach the square Gel Press® prints

4.  Brush a tiny bit of glue on back of accent print and attach to center of each earring

5.  Using tweezers to pick up each gem, dip in a bit of glue then attach to earrings, as desired.

6.  Give the glue 15 minutes to completely dry

7.  Squeeze Resin into cup up to the first line

8.  Squeeze Hardener into the same cup up to the second line

9.  Using the stick that comes in the ETI package, stir mixture thoroughly for 2 minutes, scraping the edges of the cup.  Then pour the mixture into the second cup and stir again.

10. Pour mixture into each earring up to the top.  Be very careful not to create bubbles.  If you do have a few bubbles, pop them immediately.  

11. Set your project aside and allow to completely harden. (at least 24, preferably 48 hours)

ETI looks cloudy when first poured, but it dries crystal clear and very, very hard.  That's what makes it great for jewelry.  However, do not let any of the mixture dry on your table, etc.  You will not be able to get it off!


Bracelet with Gems and Leather Strap

First, I made a Gel Press® print, using pink and purple paint.


Cut the paper to fit the bezel, and stamped the word "HOPE"


Attached the print to the bezel with a little glue. 


I added two tiny gems, filled the bezel with the ETI, using the instructions, above.

Added leather and....voila.....a cute little bracelet!!


Square Ring

I used the same process, except that I glued a black bead to the center of the Gel Press® print, then poured the ETI.


Earrings 
with a little stamping on the Gel Press® prints.


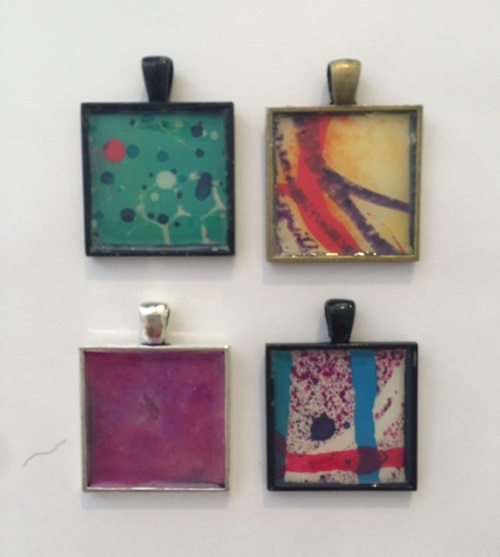
Pendants


And... another ring
this time cutting my prints into thin pieces and gluing them down to create a layered effect.


Watch out....this can become addictive.  I still have more ETI left!!

Now keeping hopping to see more great Gel Press® and ETI projects!


Visit us on Facebook - Gel Press® JunkiesPinterestYouTubeGel Press® Blog

PEACE!!

Cyndi Cesare
Gel Press® Creative Design Team


...