Showing posts with label art journaling. Show all posts

Saturday, August 19, 2017

Art Journal JAZZ - Time to Get BRAVE!

It's Time for Art Journal JAZZ!


I've been in a funk recently and I'm getting out of it.  I'm one of those people who just go blank when I'm a little down.  I love those people who can work their way out of the blues by picking up a paint brush, but no matter how hard I try, I just end up staring at the paper or canvas.  Weird!

But.......it's time to snap out of it.  I pushed my way thru my Picasso piece a few days ago and I'm going to keep going.

Here we go..........................


Thanks for watching.


Attention:  Colorers


My new, downloadable, CeeCee's Flower Girls Coloring Book is for sale on Etsy for $5.99.  There are 21, unique, illustrations of pretty girls surrounded by flowers.  You can print the pages as many times as you like.  Check it out!!

PEACE!

Cyndi

Friday, March 24, 2017

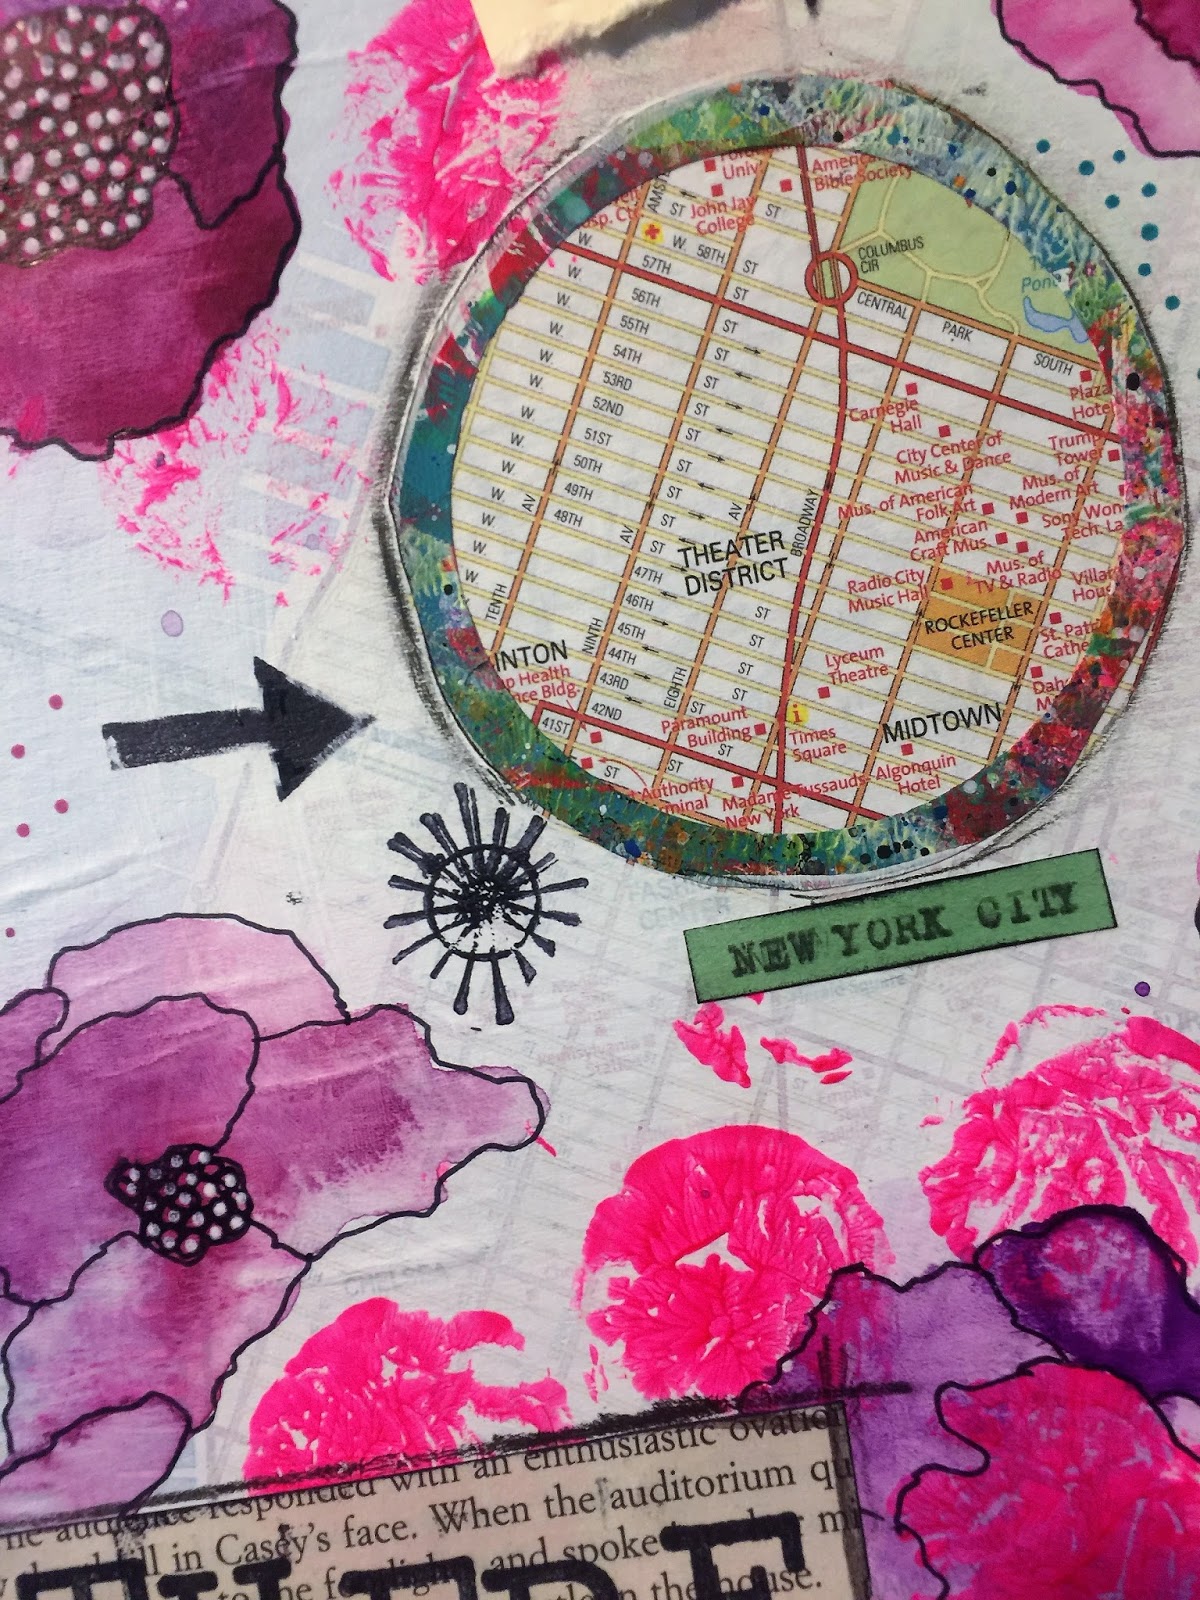
Art Journal JAZZ - Page #5 Dreams of Travel


It's time for Art Journal JAZZ!

My sister and I have been making plans for our trip in December, so that's the inspiration for today's page.

Here we go........


Supplies

Canson watercolor paper
White Gesso
Maps
Face Drawing
Watercolors
Neon Pink Acrylic paint
Handmade stamps
Stamps (7 Gypsies)
Black Charcoal pencil
Jane Davenport Paint Pens
Gel Pens
Alphabet Stamps


Subscribe to Art Journal JAZZ to receive each video in your INBOX.....and Join the Art Journal JAZZ Facebook Group to share your journal pages.  I'd love to see them!!

Check out my CeeCeeART Patreon Page for step by step project videos in real time that are not available on YouTube.

PEACE!

Cyndi

Wednesday, September 30, 2015

Time Not Wasted!


Isn't that the truth!!  I wanted to use my new clock stencil, so I "googled" some quotes on Time.  I liked this one.  No matter what you are doing, as long as it's not hurting anyone and it's fun, how could it be a waste of time.  We all need to remember to live in the moment.

Peace!

Cyndi

Saturday, February 21, 2015

Art Journalling Workshop

I mentioned a few days ago that I was taking an online workshop, Tracy Bautista's Art Journal Play Live 2015.

After the first two lessons, this is what I've created.  The first lesson was Circle Abstract Patterns.  Basically, she was teaching how to use the brush freely, play with different colors, etc.


The second was Floral Prints and Patterns.  I didn't have all of the supplies that she used for this tutorial.  It would have been better when Golden High Flow Paint.  She also used a paint applicator with a very, very thin tip to draw the outlines and miscellaneous marks in black paint.  My applicator was slightly larger, so I ended up with some thick lines and big blobs of paint.  Oh well!


I'm enjoying this and getting some, much needed, inspiration.

Peace,
Cyndi


Thursday, July 11, 2013

Hot Glue Flower Masks

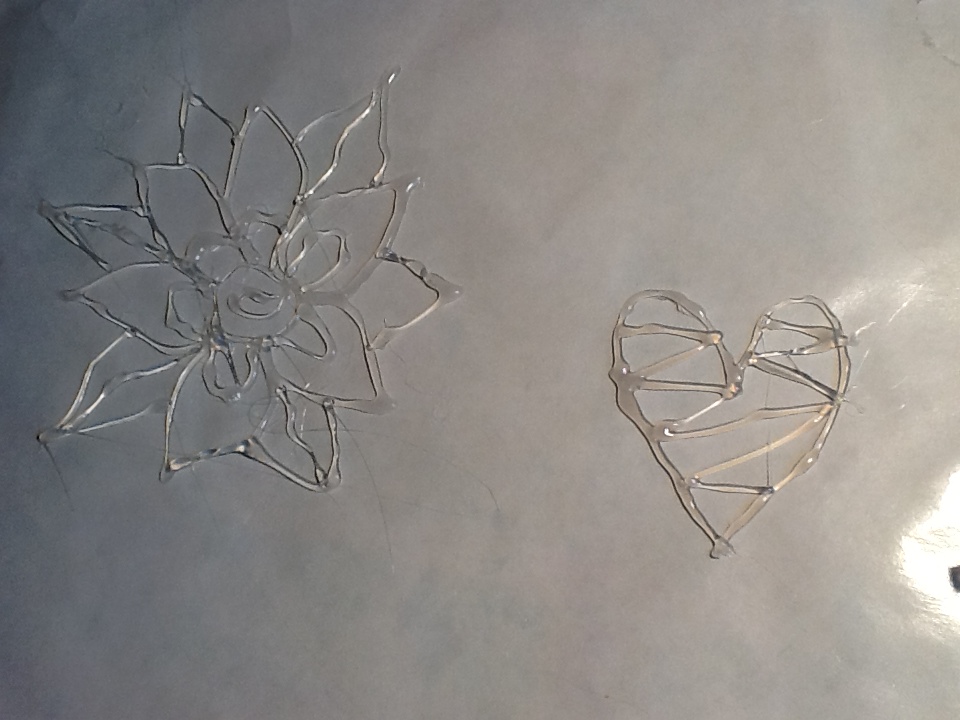
I'm so excited.  (it doesn't take much).  I was browsing around Traci Bautista's site about a month ago and saw a short tutorial on making designs out of hot glue, then using them as stencils and masks in your backgrounds or wherever you think they might look good.

I kept meaning to try it, but I couldn't find my hot glue gun.  Then, of course, when I found the gun, I couldn't find the glue.  Then, I found the glue and couldn't find the gun again, and so on, and so on.

Today, I happened to run across the gun and the glue so I knew that today was the day.  In her tutorial, I believe that she says to do this on a teflon mat.  I don't have a teflon mat, so I used freezer paper.

I took my time and carefully formed each design.  No I didn't.  I just started making designs willy nilly.  I had glue strings everywhere, but I figured that I could cut them off at the end.  I was surprised at how easy it was.  I let them completely cool, then began pulling them off the paper.  If I had used the teflon, they would have popped right off.  Mine stuck to the paper here and there, but for the most part, I just used my fingernail and scraped them off.  The glue is strong, so they didn't break or pull apart.  On the ones that stuck to the paper, I just scraped or cut the paper off with a small exacto knife.

I tried them out right away on a piece of art that I was never happy with.  I sprayed Dylusions Ink, but you could use any kind of spray paint.  You could even put paint or ink on the flat, back of the designs and use them to stamp.

I am pleased and plan to make some more.  They will be great for using on backgrounds or art journal pages.  I don't know if Traci Bautista made up this technique.  She probably did because she is so creative and talented.  Anyway, thanks Traci!

Here's some pix.


Monday, April 15, 2013

Girl Number 3

I'm on a roll.  I painted another girl on the back of a cereal box today.  Again, this one is very Kelly Rae Roberts-esque.  I tried another new technique.

I covered one of my rubber stamps in gel medium, instead of ink, then I stamped it on the surface.  I used water color to paint over it.  The gel medium acts as a resist to the water color.  It looked really good.  I wish that I had taken a picture of it right after I used the water color.  I ended up painting over it with acrylic paint because the dress needed to be more pronounced.  You can still see the stamp through the acrylic, but not as much as with the water color.  I want to try it again on something else.


Sunday, April 14, 2013

Thinking About Flying

Inspired by the works of Kelly Rae Roberts and Susie Blu, I spent this Sunday afternoon trying another face.

I was very patient this time.  I started out with a piece of cardboard (OK, it's the back of a cereal box).   I tried something that I saw in a video by Samantha Kira Harding.  I put gesso on the cardboard, then wrote all over it with Prismacolor Premier markers (she used Copics, but I don't have any), then brushed gesso over the writing.  It smeared some of the marker which looked really pretty and you  could see a sort of ghost image through the gesso.  Then I used stencils and spray ink, acrylic dabbers, and ink dabbers.  I collaged some torn book pages, decorative tissue paper, and a lacy rice paper.  I went over everything with watered down Golden Titan Buff to calm it down a little and make the papers more integrated.

I drew the girl with a charcoal pencil, then painted her face, arms and hair.  After it dried I used a charcoal pencil, Pitt markers, and a white gel pen to draw her facial features.  After I painted the dress, I stamped a butterfly on regular white paper, reduced it, then colored it with markers and glued it to the dress.  I added the wings, some more stamping, and a little molding paste through a plastic grid.

I just need to brush a layer of gloss medium and it will be finished.


You know it's hard to develop one's own style.  I watch a lot of tutorials on Youtube and am addicted to arts/crafts magazines.  When someone is showing you how to do something, naturally, your piece is going to look quite a bit like theirs (just not as good, of course).  I'm guessing that many people gain inspiration and technique from others, then eventually develop their own style.

I'm working on it!!

Pretty Paisley

As much as I try to do other forms of art, I always end up pulling out the pens and drawing.  I just love to draw with a nice black pen, then color.

I bought a new book on Friday -  Creative Doodling & Beyond: Inspiring exercises, prompts, and projects for turning simple doodles into beautiful works of art by Stephanie Corfee.  It's good because she goes through different doodling shapes and boarders and leaves space for you to practice next to her doodles.  Okay, can you tell which page is mine and which is Stephanie's?  Of course you can.....mine are on the right.


Here's my doodling from last night.


Wednesday, April 10, 2013

Playing with Colored Pencils

Here's the project that I worked on while watching Celebrity Appentice.  I was very happy about 2 things on Sunday night - this drawing and that Omarosa was FIRED!!

I used a black Faber Castel Pitt Artist Pen and Prismacolor Premier Colored Pencils.


Here's the tutorial  that I watched to learn how to draw the fat squiggly things.


Blowing Alcohol Inks

There are several videos on youtube about blowing on alcohol inks. So, I tried it and it is so easy, so fast, and so pretty. I made this one in about five minutes. I used glossy inkjet paper, Ranger inks, and a straw. You just drip the ink on the paper and blow.

Saturday, April 6, 2013

ZATISSE - A little Zentangle, a little Matisse

I found the Modern Master Challenge on Art Journaling,  I found it a little too late  They were doing Matisse in February.  However, I thought I would take a look at some of his paintings and find out a little bit about the guy.

He was pretty interesting.  He hung out with Gertrude Stein, Picasso, the Cone sisters (who were very interesting - I might write a post about them someday) and other artists and collectors,

Matisse was a painter, printmaker, and sculptor.  In 1941 he had surgery and remained in a wheelchair afterwards. With the help of an assistant, he started creating collage-type work.  He called it gouaches découpés.  He brushed gouache onto paper, cut it in pieces and  attached it to other paper.  His works were large in scale.  During this period he created the Blue Nudes, which are probably some of his most recognizable pieces.

So here is my tribute to Matisse.  I zentangled one of his nudes.


The Real Blue Nude