

Enter by going to all of the blogs. Leave a comment on the Gel Press Blog telling us your favorite project! You can comment between now and April 7th! Winner to be announced on Gel Press Junkies on Facebook and Gel Press product page April 8th! You will have your 8" Round Gel Press to make a project to play along with our Earth Day designs April 22! Enjoy the projects and good luck!

Here's my project!
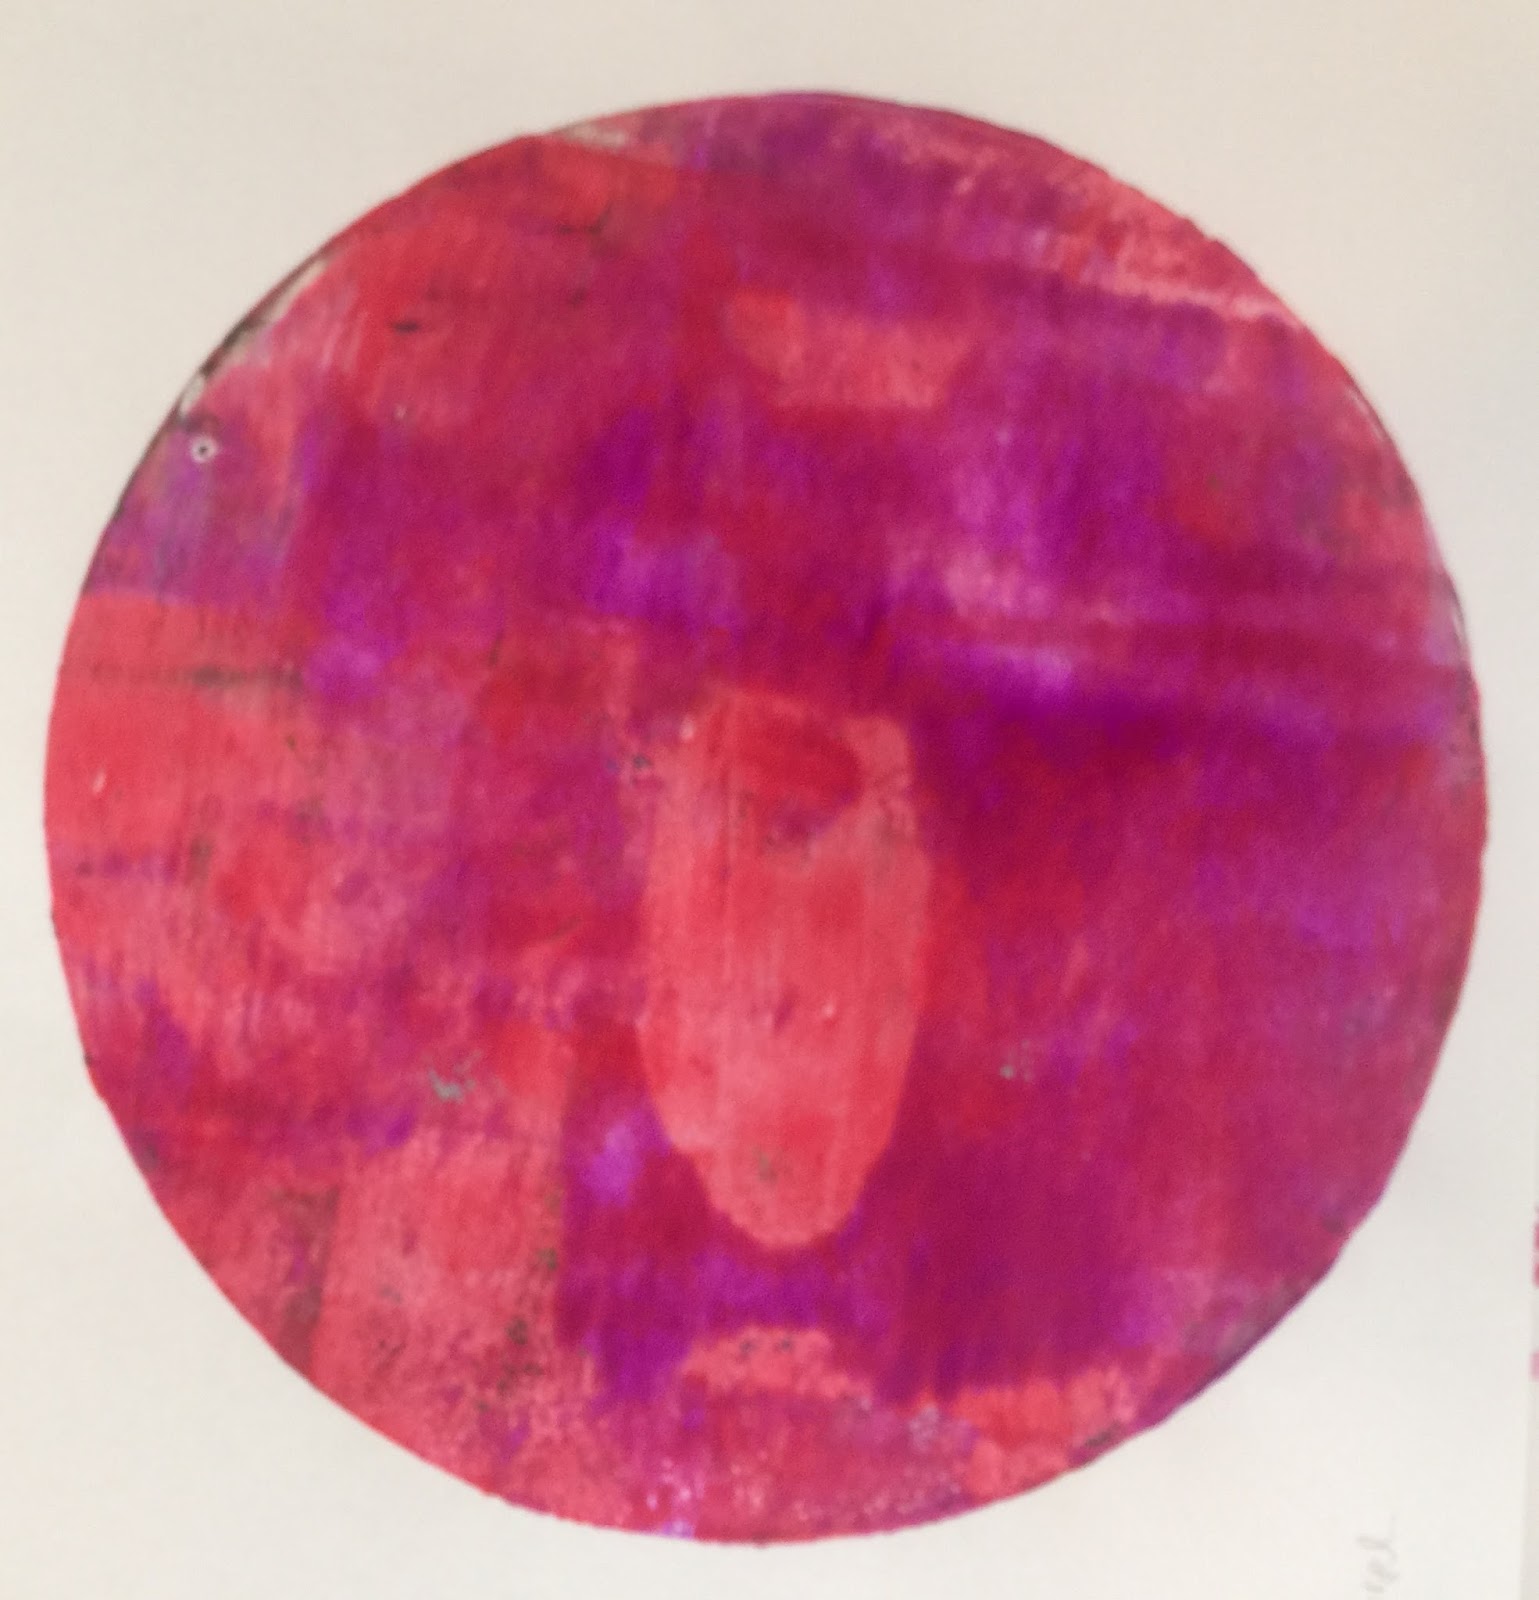
I started out by making 12 round prints on my 8" Gel Press plate. These prints are very random. For this project, you really don't need to put a lot of thought into it.........just keep putting paint and stencils on the plate. That's what's so wonderful about printing on the Gel Press - everything looks cool. The photos on the left are the first pulls and the ones on the right are the, completed, prints.
Here's how they started out -


Now, this was the "somewhat" hard part. I had to go back to my geometry days to figure out the measurements for the squares inside the circles. The circles in the squares are easy - just measure the diameter of the square and cut out a circle the same size.
To make the squares fit inside the circles, measure the diameter of the circle and that is going to be the diagonal measurement for your square.....for example....if your circle is 4", draw a line 4", then another 4" line that bisects the first line exactly in the middle, making a right angle, then draw lines, connecting all corners to make a square. The square should fit, perfectly (or pretty close) in the circle.
For each circle and square that I made, I cut another one 1/4" smaller. Then I started layering them. Here's a quick video to show how I put this together.
I used fluid matte medium to put them down.
Then, I used a black charcoal pencil to shade around each circle and square to give the whole piece some depth.
When it was finished, I sprayed it with a, glossy fixative.


Now.....hop on over to the next blog on the list below to enter for your chance to win the 8" Round Gel Press Plate.

PEACE!
Cyndi
Love the colors, depth and stained glass look! Thanks for the inspiration! God bless.
ReplyDeleteThank you so much!!
Deletelovvve the colorssss.. I am so inspired!!!
ReplyDeleteThat is so cool! I love it!
ReplyDeleteWow. I love this. Just awesome.
ReplyDeleteThanks!!
DeleteOMG!!!! Love this!! Definitely going to try to make one. Will wait to see if I win the plate first, if not will have to break down and get one myself!! Thanks for the inspiration, you did an awesome job!
ReplyDeleteThank you and, YES, you should definitely try it. I hope you win!!
DeleteThis was fun to watch! Thanks for the inspiration! I'd love to win the jelly plate...I don't have one and they look like so much fun!!!
ReplyDeleteThank you and they are fun! I hope you win!
DeleteGorgeous! Plus you make geometry look like fun.
ReplyDeleteThank you! It's funny because I usually do flowers....but I really love geometric shapes.
DeleteHow fun!
ReplyDeleteThanks Sandee!
DeleteThanks for the inspiration!!! Lovely work!!
ReplyDeleteThank you for your comment!!!!
Delete
ReplyDeleteThank you Lea!!
Gorgeous! I really love the layering and amazing prints!~kim
ReplyDeleteThank you Kim!!
DeleteThis is a wonderful idea for a mandala I'm designing.
ReplyDeleteIt would be a good idea for a mandala.....I might try that too! Thanks!
DeleteThis is so beautiful and what a great idea! Thanks for sharing.
ReplyDeleteThank you very much!!
DeleteThe video was a huge help! this looks awesome!
ReplyDeleteThank you so much. I'm glad the video helped.
DeleteIt really does look like a stained glass window - just lovely!
ReplyDeleteThank you. I didn't realize that it was going to resemble stained glass until I finished.
DeleteWhat material did you use to do the gel prints? I love the results.
ReplyDeleteThank you!! I used a very cheap pad of paper that I purchased at the Dollar Store. It was just called "Drawing Paper". I usually do prints on copy paper or tracing paper, but I didn't have any. The Dollar Store pad worked fine.
DeleteBeautiful project! Need to try this.
ReplyDeleteThank you.....and, yes, you should try it!
DeleteVery fun project! LOVE the layers!
ReplyDeleteThanks!
DeleteSuch gorgeous colors and patterns!!
ReplyDeleteThank you!!
DeleteWhat a cool and creative idea. Here I go. I hope mine turns out as colorful as yours!
ReplyDeletesuzschultz23(at)aol(d0t)com
Cool.....I would like to see yours!
DeleteLove all the beautiful patterns, and I'm very impressed with your geometry skills!
ReplyDeleteThank you Teresa!
DeleteBeautiful and definitely a project I would like to try.
ReplyDeleteThank you....yes, give it a try!
Deletewow loved your spread thanks for sharing and thanks for the chance to win
ReplyDeleteThank you and good luck....hope you win.
DeleteVery interesting to watch you put this amazing project together! Lots of great ideas and am loving all the inspiration. Thanks soo much.
ReplyDeleteThank you for your nice comment!!
DeleteI love how you made this project! a super idea!
Deletethank you for the inspiration,
Wiebine
Great project.... I have a 'thing' about circles too, so love seen others ideas.
ReplyDeleteBy the way, I am a Stitcher who uses paper as my fabric. I don't quilt, however I couldn't live without my quilting rulers or squares, to cut paper, line things up etc. Easy to cut strips, or squares. Just thought with your working out of sizes, could have done it by laying a quilting square ruler on top, especially as are they marked 1/8 1/4 etc
Thank you......and what a great idea....quilting squares. I've seen those before and I'm definitely getting one. This project has gotten me in the mood to do some similar things and the quilting rulers would be perfect. Thank you...thank you!
DeleteGorgeous! The design and the colors! (even with the math! lol)
ReplyDeleteThank you!!
DeleteTo me, there is something very special about a round print! It adds another element of surprise to whatever you are doing! I love that you make us exercise our brains a bit with all that math! I'm using my new, small, gel press plate, and I'll have to say there is something different about it - I love the surface. Don't quite know how to describe it, but it is very nice to use.
ReplyDeleteWhat a beautiful quilt card. I am always looking for thing to do with my gel prints...have not yet had the opportunity to try the circle plate and would love to.
ReplyDeleteThanks.
marimuseinpt@gmail.com
Wow! That is beautiful.
ReplyDeleteThank you!!
DeleteKonya
ReplyDeleteKayseri
Malatya
Elazığ
Tokat
EZG
sakarya
ReplyDeleteyalova
elazığ
van
kilis
7BRYT
https://titandijital.com.tr/
ReplyDeletenevşehir parça eşya taşıma
bolu parça eşya taşıma
batman parça eşya taşıma
bayburt parça eşya taşıma
GPLİSW
antalya evden eve nakliyat
ReplyDeleteankara evden eve nakliyat
bursa evden eve nakliyat
yalova evden eve nakliyat
gümüşhane evden eve nakliyat
GGC0İ
F435F
ReplyDeleteKütahya Parça Eşya Taşıma
Ankara Asansör Tamiri
Niğde Şehirler Arası Nakliyat
Çerkezköy Çelik Kapı
Etlik Parke Ustası
Mersin Evden Eve Nakliyat
Kayseri Evden Eve Nakliyat
Silivri Çatı Ustası
Tokat Parça Eşya Taşıma
0166E
ReplyDeleteAntalya Lojistik
Aksaray Parça Eşya Taşıma
Gümüşhane Lojistik
Iğdır Parça Eşya Taşıma
Expanse Coin Hangi Borsada
Bingöl Şehir İçi Nakliyat
Çankaya Fayans Ustası
Çerkezköy Oto Boya
Bursa Evden Eve Nakliyat
48786
ReplyDeleteçanakkale görüntülü sohbet uygulama
chat sohbet
canlı görüntülü sohbet siteleri
sinop görüntülü sohbet ücretsiz
aksaray telefonda kadınlarla sohbet
bingöl kızlarla canlı sohbet
burdur kadınlarla rastgele sohbet
bilecik sesli sohbet siteler
antalya nanytoo sohbet
F4C9D
ReplyDeleteBinance Yaş Sınırı
Binance Hesap Açma
Binance Komisyon Ne Kadar
Telcoin Coin Hangi Borsada
Sui Coin Hangi Borsada
Trovo Takipçi Hilesi
Bone Coin Hangi Borsada
Youtube Abone Hilesi
Twitter Trend Topic Satın Al
33302
ReplyDeleteDiscord Sunucu Üyesi Hilesi
Bitcoin Nasıl Alınır
Referans Kimliği Nedir
Linkedin Beğeni Hilesi
Binance Kimin
Sui Coin Hangi Borsada
Caw Coin Hangi Borsada
Kaspa Coin Hangi Borsada
Binance Borsası Güvenilir mi
4D27D
ReplyDeleteCaw Coin Hangi Borsada
Binance Ne Kadar Komisyon Alıyor
Spotify Dinlenme Satın Al
Gate io Borsası Güvenilir mi
Keep Coin Hangi Borsada
Madencilik Nedir
Bitcoin Nasıl Üretilir
Azero Coin Hangi Borsada
Görüntülü Sohbet Parasız
91FE7CBB5E
ReplyDeleteinstagram gerçek takipçi
beğeni satın al
telafili takipçi
fake takipçi
aktif takipçi